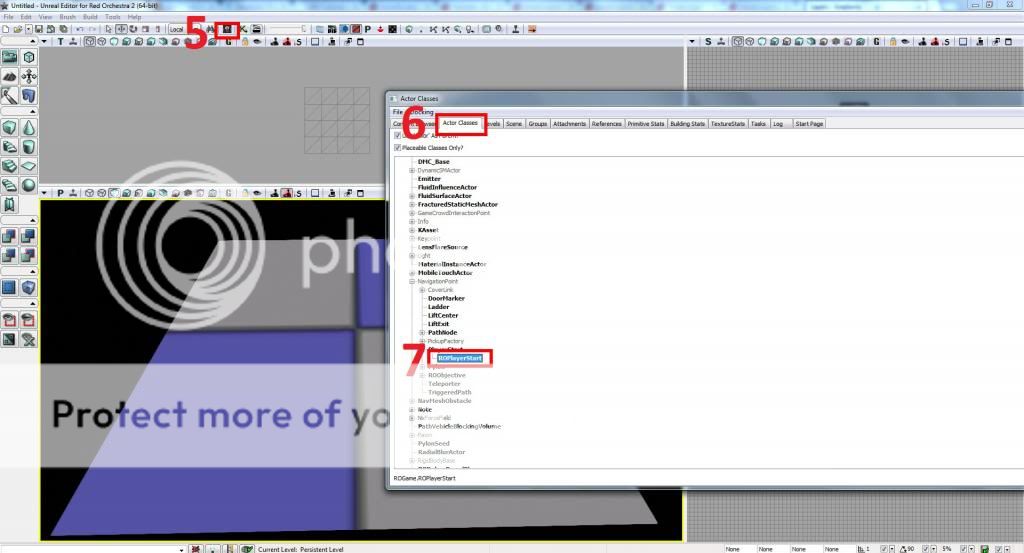
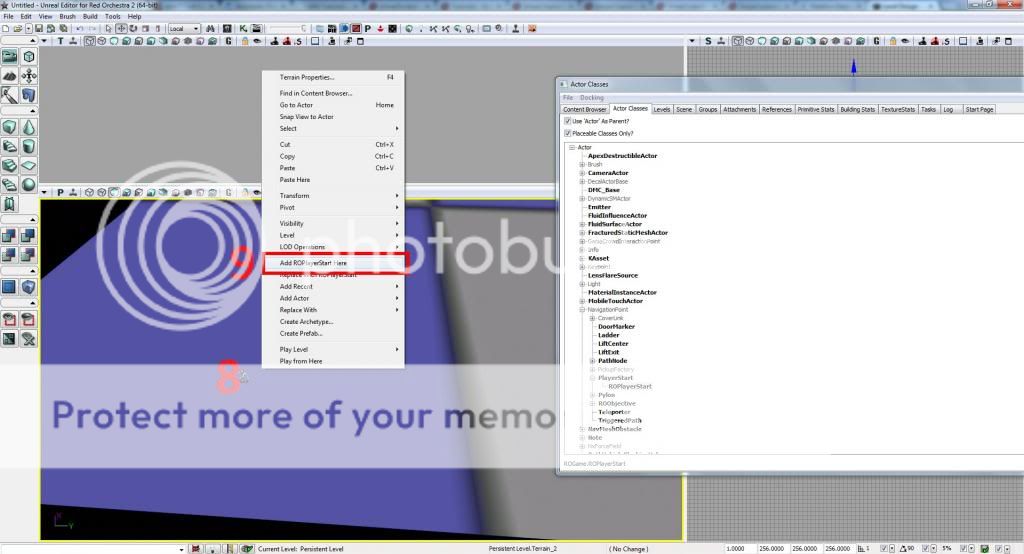
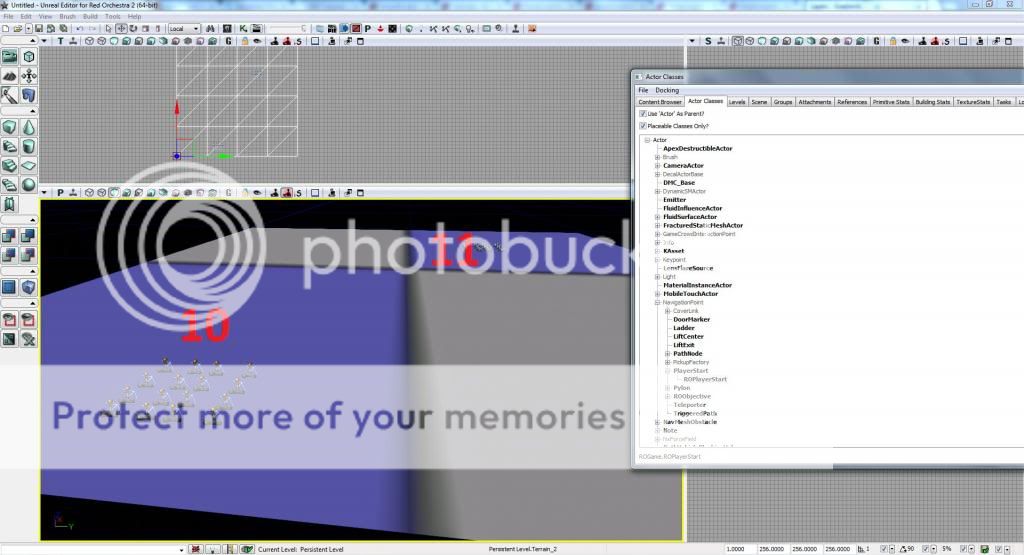
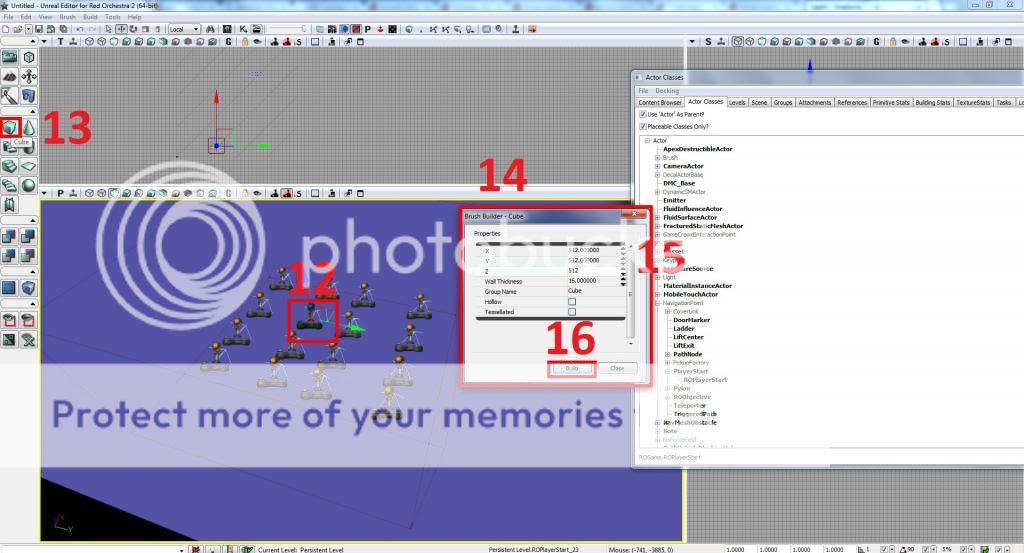
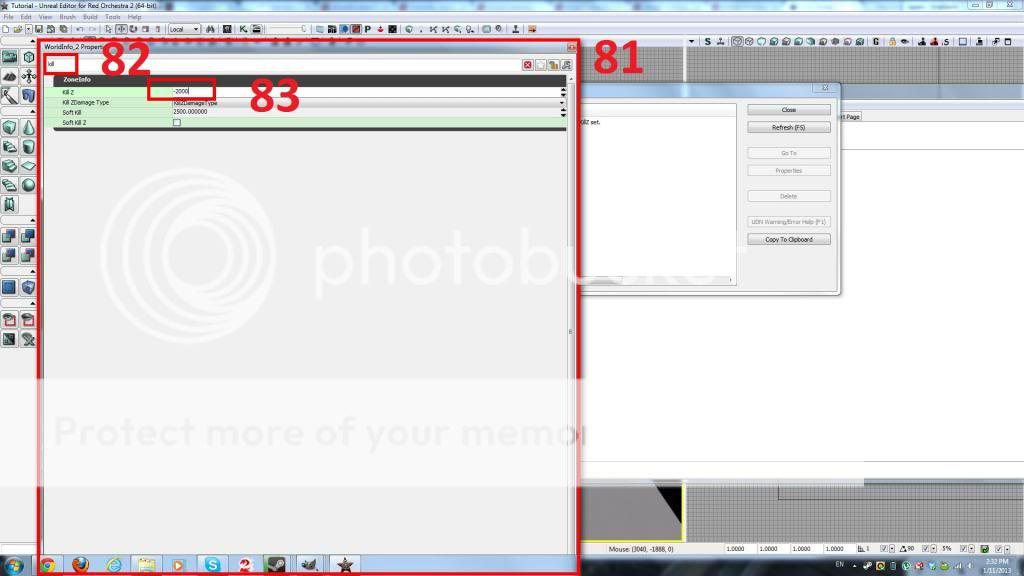
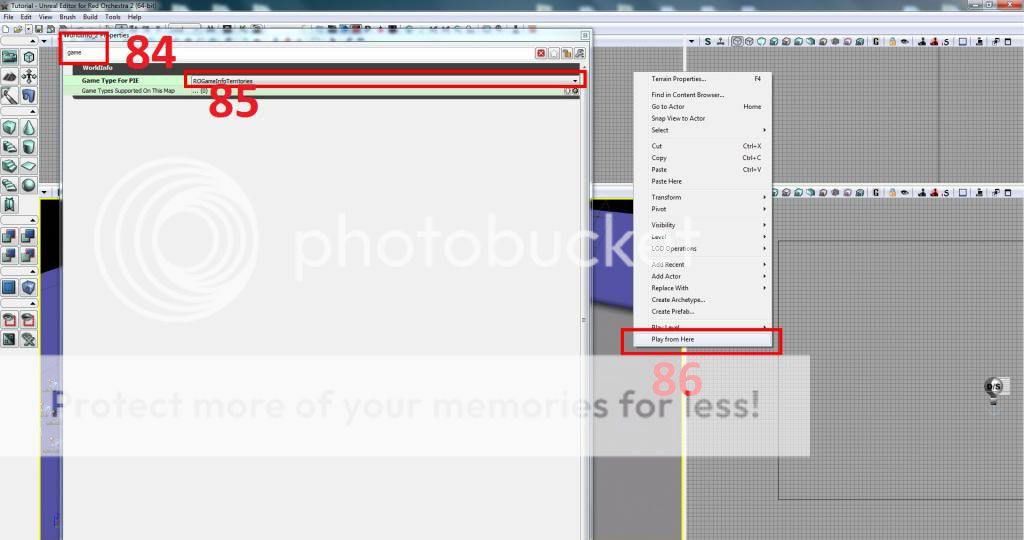
This will be straightforward guide about how to make a map for Red Orchestra 2. The guide will not teach you how to maneuver around the SDK. It assumes you have the SDK installed and you took some steps to learn how to use it.
If you don't know anything at all then you should take a look at this and learn your way around the SDK before continuing. If you are a true adventurer though, please proceed.
Let's get started.
DOWNLOADABLE VERSION
STEAM VERSION
1. Setting Up Terrain
When you first open the SDK you will shown a screen similar to this.
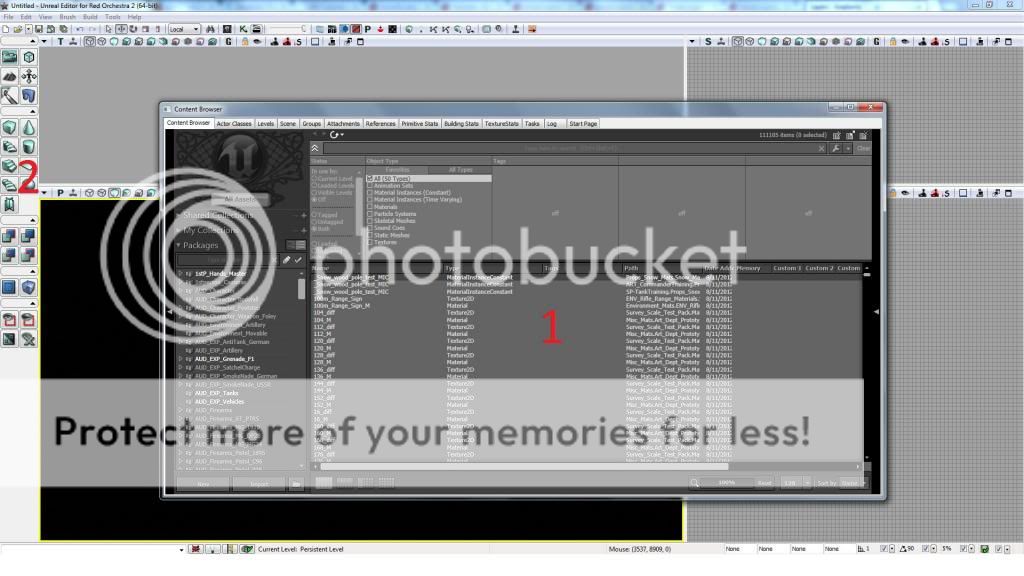
(1) represents the Content Browser window. This window will be used to place objects into the game. It is basically an index of every object. The first tab contains objects that you will see in-game such as static meshes (3D objects), particles (smoke, fire, snow), and materials (textures). (2) is one of the basic tool bars in the sdk. This one we will be using today and you should familiarize yourself with it.
One of the first things you need to create a map is terrain. Terrain represents the area that players will be standing on and running around on and dying on. You can change the terrain up by using the terrain tool but that will be another tutorial.
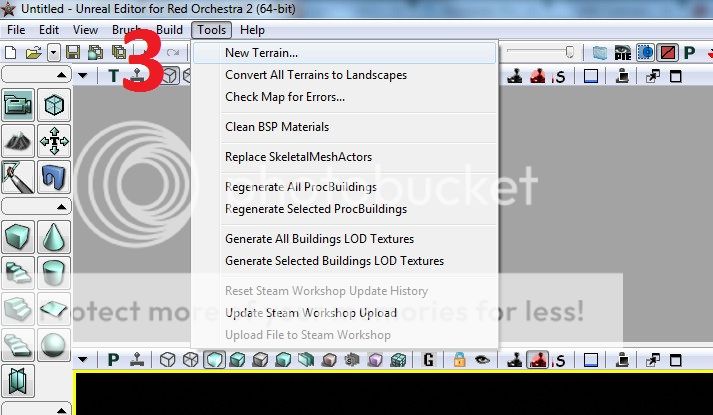
You will need to find the tools button in the menu bar. Click that and you will see the (3) "New terrain..." button. Click this.
You will be given a window with some numbers. Don''t change anything. Basically the location is where you want the terrain to start in the xyz-coordinates. The patches represents the size of the terrain. For this tutorial, just click next until you terrain shows up.
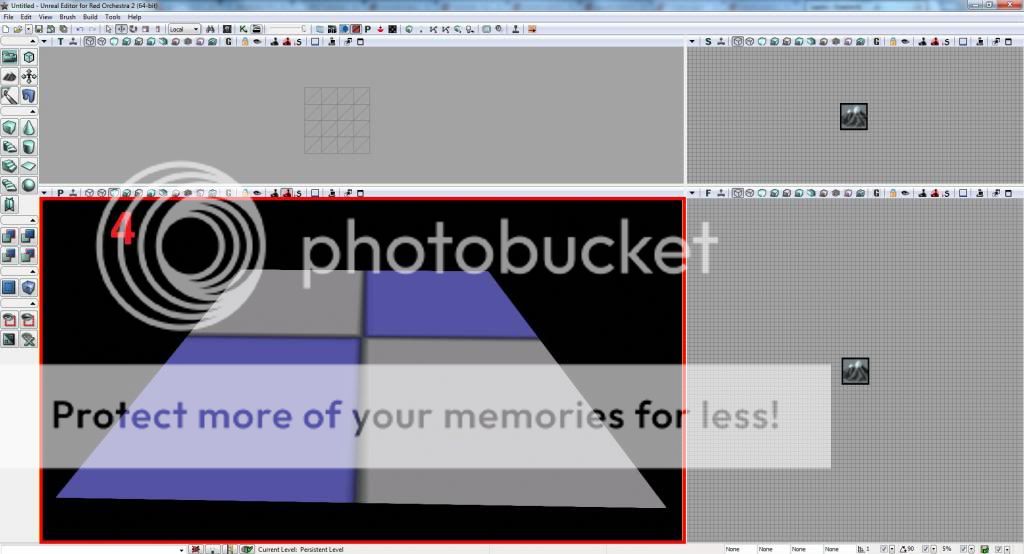
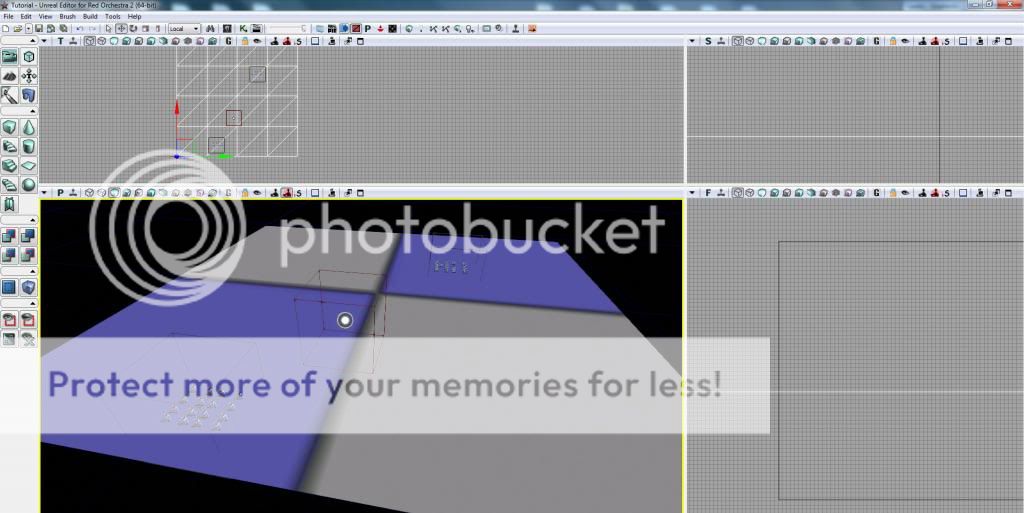
It should look like this (4).
Right now it looks plain because you didn't add a terrain layer. Terrain layer represents a layer of terrain material that you can paint on. Terrain materials are basically the textures such as grass, snow, or dirt.
If you don't know anything at all then you should take a look at this and learn your way around the SDK before continuing. If you are a true adventurer though, please proceed.
Let's get started.
DOWNLOADABLE VERSION
STEAM VERSION
1. Setting Up Terrain
When you first open the SDK you will shown a screen similar to this.
Spoiler!

(1) represents the Content Browser window. This window will be used to place objects into the game. It is basically an index of every object. The first tab contains objects that you will see in-game such as static meshes (3D objects), particles (smoke, fire, snow), and materials (textures). (2) is one of the basic tool bars in the sdk. This one we will be using today and you should familiarize yourself with it.
One of the first things you need to create a map is terrain. Terrain represents the area that players will be standing on and running around on and dying on. You can change the terrain up by using the terrain tool but that will be another tutorial.
Spoiler!

You will need to find the tools button in the menu bar. Click that and you will see the (3) "New terrain..." button. Click this.
You will be given a window with some numbers. Don''t change anything. Basically the location is where you want the terrain to start in the xyz-coordinates. The patches represents the size of the terrain. For this tutorial, just click next until you terrain shows up.
Spoiler!

It should look like this (4).
Right now it looks plain because you didn't add a terrain layer. Terrain layer represents a layer of terrain material that you can paint on. Terrain materials are basically the textures such as grass, snow, or dirt.
Last edited:


