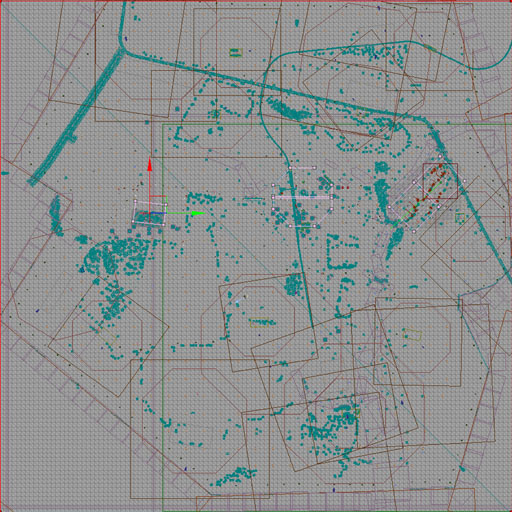
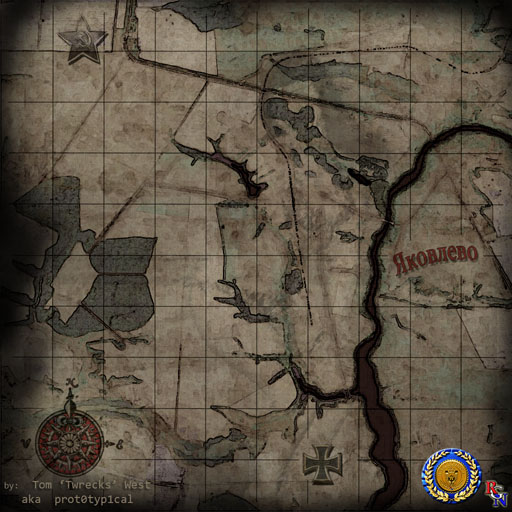
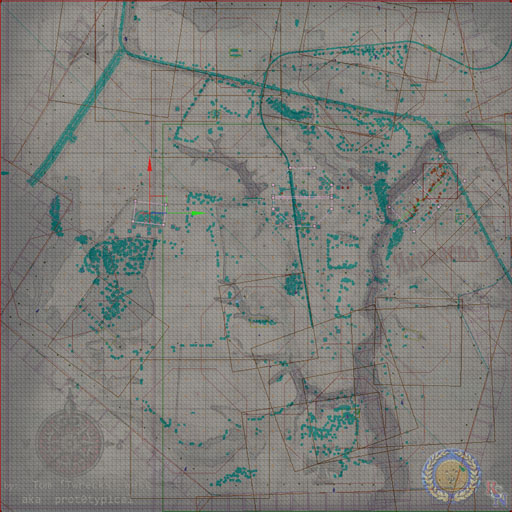
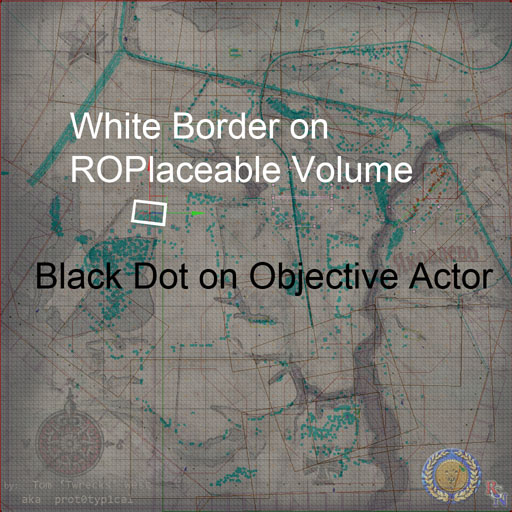
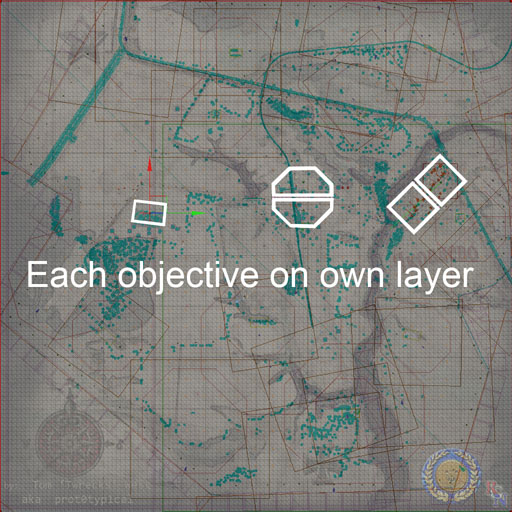
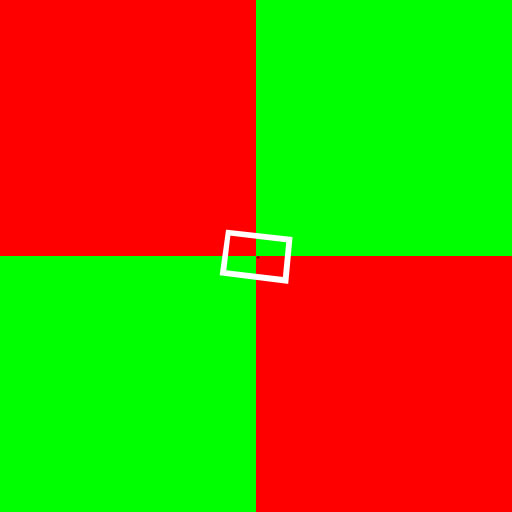
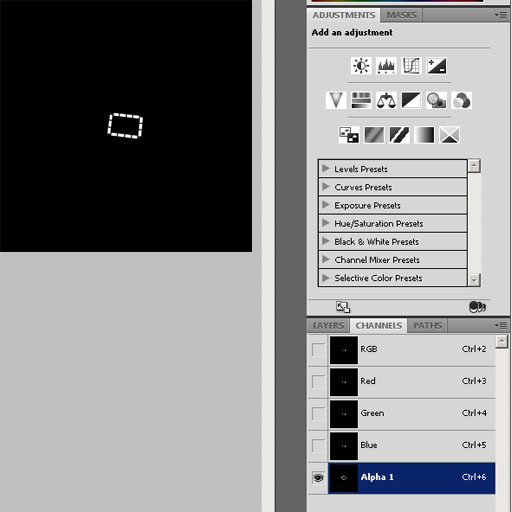
9a. Next, change the background to black (fill).
10a. Break the border into dashes (short lines). I used the erase tool.
10b. Flatten the image to one layer.
10c. Select ALL, and copy.
10d. Goto your channels, and paste in the alpha channel.
If you don't have a alpha channel, add a new channel and paste.
11a. Save your image as a 32 bit Targa (tga).
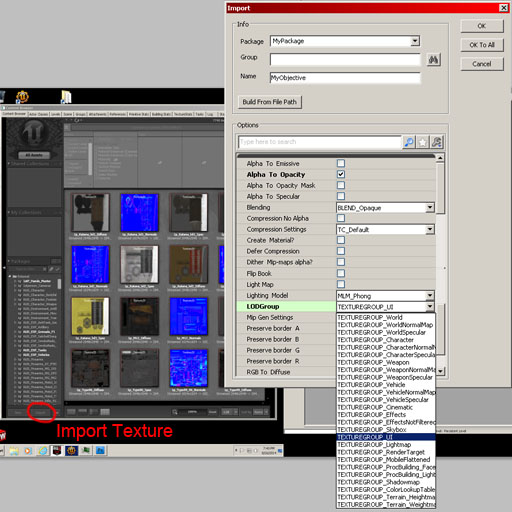
11b. Open the editor (SDK), and import the tga into your map package.
11c. make sure the "Alpha to Opacity" is ticked.
11d. "LODGroup" must be set to TEXTUREGROUP_UI.
11e. OK
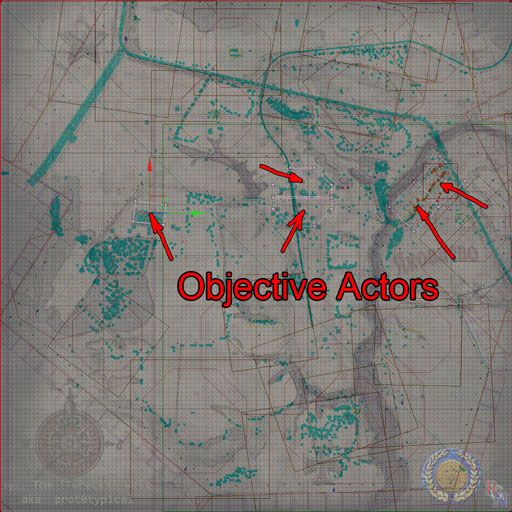
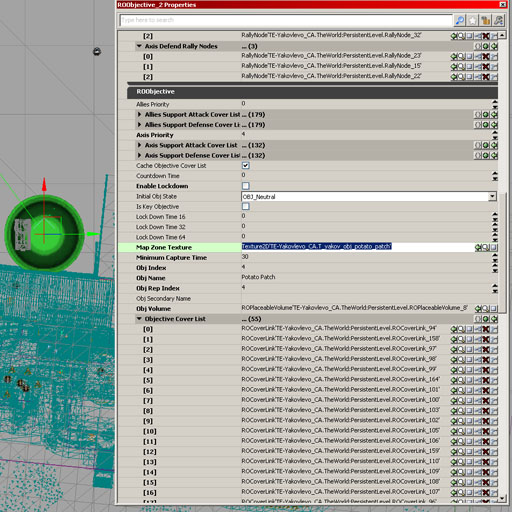
12a. Find your objective actor and open it's properties (F4).
12b. With your new objective texture selected in the browser, click the green arrow for "Map Zone Texture".
13a. Save your map. It will compress your new texture for in-game use.
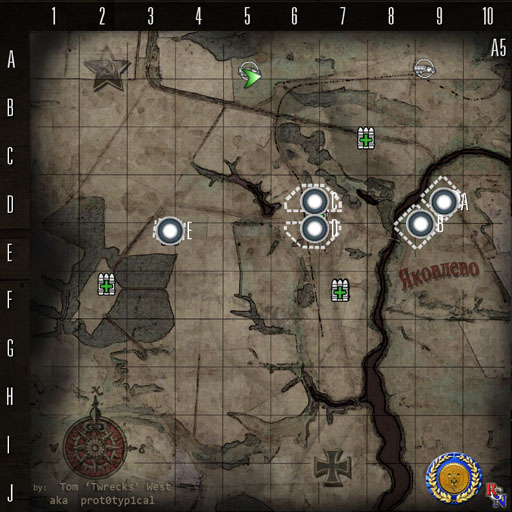
13b. Play your map and bring up the minimap.
If your overhead map is assigned in the world properties, and all your objectives are set up properly in Kismet, everthing should look fine.
WARNING, if you move an Objective actor, or the ROplaceable volume seperately, you will have to do all this again. Move them together, and the border will shift with them.


