• Please make sure you are familiar with the forum rules. You can find them here: https://forums.tripwireinteractive.com/index.php?threads/forum-rules.2334636/

Level Design Lighting on static mesh not very good

chewmyheadoff

Grizzled Veteran
May 21, 2009
436
0
UK
bunnyhead.tk
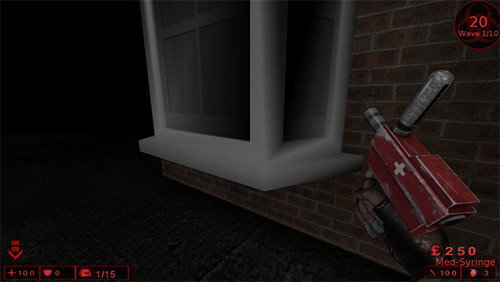
I'v just exported my 3ds max mesh into unreal editor and added a light. But the window frame becomes distorted and doesn't look right. How do I fix this?

3585650144_73be8cb226.jpg
 
I noticed this with a few models of mine, it seems that a lot of KF and general unreal static meshes are quite high poly, you can see the polys on your model clearly and I can see you have used as little as possible. It seems that you just have to increase the polys to get decent lighting. For example see the wall in westlondon that the tunnels go through with the road on the top, the wall near the church is actually a static mesh and it lit very well, that is because it has many polys instead of the 2 actually needed to render the wall. Also increasing the detail of the texture could help, add a skylight in 3ds max and render the light to the texture.
 
Upvote 0
ok put your texture into the materials palette and apply it to your model. Then add a 'skylight' and make sure it has 'cast shadows' checked. Then his render and check it looks ok, you can do this lighting effect with any type of light but I think skylight will be better. Then if you are happy go to 'rendering' in the tool bar and then 'render to texture' click on your model and you should see its name show up in the box. Under 'mapping coordinates make sure 'use existing channel' is selected. Scroll down a bit until you see another white box, click 'add' under it and then select 'complete map'. Then a bit further down name the output file and where it will be saved and also how big the texture size should be, then click render. This should render all the shadows to the texture.

Hope that works.
 
Upvote 0
yeah like I said earlier, the models must have more polys that needed, especially for that wall, it needs to have much more, so split the face in half, then half again and so on and so on. Plus it would be better to use brushes for walls.

You say you combine all the objects in max so its one mesh, so in unrealEd is the whole pub one static mesh? if so you shouldn't do that. it should all be separate objects, this might improve lighting as the mesh will only take like from a few sources.
 
Last edited:
Upvote 0
Ok , if you're a max user, export with a Smooth modifier set to autosmooth. You should get some good hard edges this way.

Export your ASE

Rebuild the lighting in your map

It should be fixed. If not, try different smooth settings. Always remember to rebuild your map lighting when you import though!
 
Upvote 0
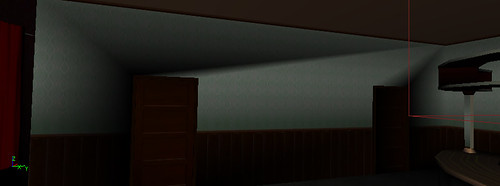
Yea I'v been using autosmooth now, and it sort of has helped, but its the large flat surfaces that are causing the most trouble, as when a shadow is projected on it, the shadow is stretched along the long sides, which makes some wierd black triangles.

Yeah you'll have to sacrifice your tri count and add some divisions. Check this tut out it helped me with similar issues. http://www.hourences.com/book/tutorialsvertex.htm
 
Upvote 0