• Please make sure you are familiar with the forum rules. You can find them here: https://forums.tripwireinteractive.com/index.php?threads/forum-rules.2334636/

The RO2 "Work In Progress" Video/Image Thread - All Welcome!

Thanks, just favourited that link. Already tried a few tutorials and took my first baby step creating a basic room. Took 70min to "build all" in order to play test it. Luckily I still haven't had a single crash, though at some point the program was using almost 3GB of memory. I bet when I start making big maps with plenty of objects they'll start being frequent, right?
Spoiler!
 
Upvote 0
Took 70min to build an empty room? Hmm something is wrong there, do you have a lightmass importance volume set? If not you should create one with the red builder brush then select lightmass importance volume in the volume list.

This volume is used by the light engine to know where it should focus the lighting traces.

Keep at it, using the SDK is not really that hard. Creating an interesting and fun map is what is hard in my opinion.
Nope, I just added a single lighting source, with the brightness at 2, radius at 100 and the rest at default. All I did in that "map" was a 1024x 1024y 1024z cube with a single lighting source. Didn't touch or add anything else.
 
Upvote 0
Just build light and geometry. Don't worry about building path's and cover nodes until later when you start working on them.

I can see a 70min build on a slower system, whats your system specs?

Unreal Lightmass uses multiple cores, but the rest of the build just uses the first core, if im not mistaken. So if your processor is important. And the further you get, the longer the builds. My 3.4ghz quad 2600k, 32gigs ram, 580gtx, takes about 10 minutes to build all on my WIP at its current state, and I have minimal paths, cover, and tons of detail mesh to add, which will rack up light build time. I expect when finished, to endure around 20-30 min builds. (not sure, maybe a map vet can give a better idea)

But for just one cube room, leo is right, 70min is a bit long.
 
Upvote 0
Thanks, just favourited that link. Already tried a few tutorials and took my first baby step creating a basic room. Took 70min to "build all" in order to play test it. Luckily I still haven't had a single crash, though at some point the program was using almost 3GB of memory. I bet when I start making big maps with plenty of objects they'll start being frequent, right?
Spoiler!


Nezzer, keep in mind these tutorials are basic. As you have noticed they use less bsp and more meshes. I suggest you fool around with terrain and adding meshes too. Here some good tutorials.
 
Upvote 0
Just build light and geometry. Don't worry about building path's and cover nodes until later when you start working on them.

I can see a 70min build on a slower system, whats your system specs?

Unreal Lightmass uses multiple cores, but the rest of the build just uses the first core, if im not mistaken. So if your processor is important. And the further you get, the longer the builds. My 3.4ghz quad 2600k, 32gigs ram, 580gtx, takes about 10 minutes to build all on my WIP at its current state, and I have minimal paths, cover, and tons of detail mesh to add, which will rack up light build time. I expect when finished, to endure around 20-30 min builds. (not sure, maybe a map vet can give a better idea)

But for just one cube room, leo is right, 70min is a bit long.

Yeah, I built everything. My specs are:
Windows 7 64-bit
Intel Quad Core 2.4GHz Q6600
4GB RAM
Nvidia GTX 285

Thanks for the link Drecks. I'm still focusing on doing very basic stuff to dominate the basics of level design. Trying to avoid going too far ahead so soon. I'll try doing some more stuff, but most of what I hear people saying is still Greek to me :p
 
Upvote 0
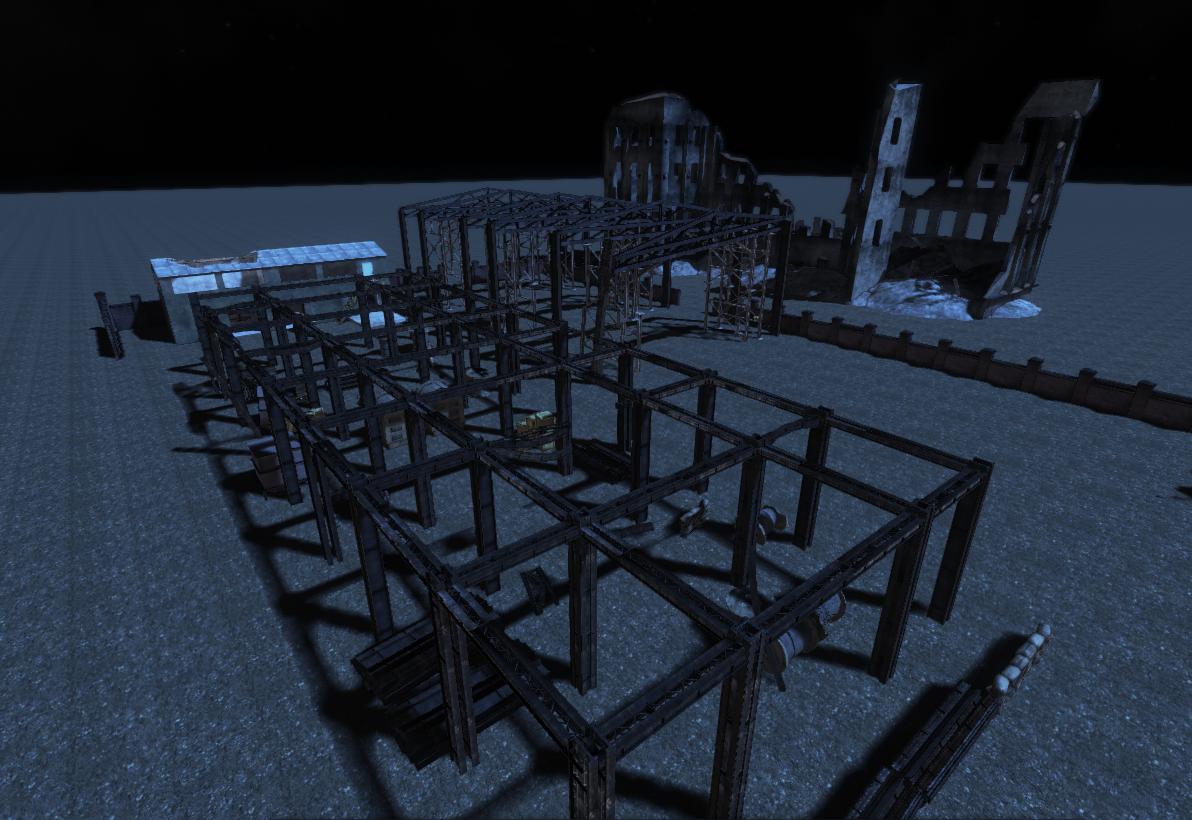
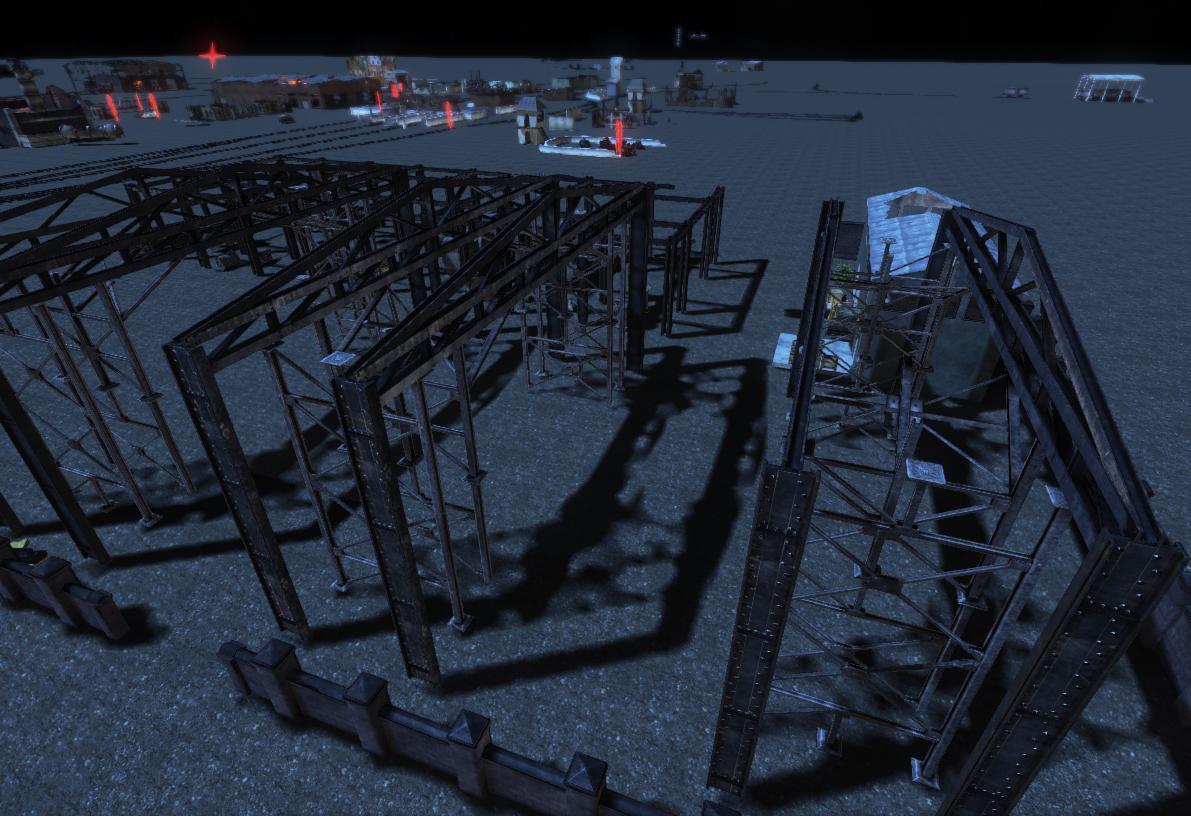
Nice pics, hermano argentino. Your map looks very promising. Are you already positioning stuff in the map as you had played or still experimenting with the layout? I think it would be very interesting if you tried experimenting with some tunnels, trenches and rough terrain. And don't forget to add A LOT of rubble :IS2:. It might add a lot to that rattenkrieg feel you probably seek.

Anyway, I've started playing with some static meshes and now that I'm starting to have problems with the SDK. The content browser is the only thing that causes the program to crash. Worked for hours earlier, messing only with brushes and lighting and didn't have a single crash, but just a few minutes working with the content browser and it already crashed. I only had a few freezes earlier, but nothing that could really stop me from working. Well, I am persistent and I'll keep trying to work on it despite these crashes. I am very thankful for the autosave function :p

I hope I have some more dosh in the next months to upgrade this PC.
 
Upvote 0
Not sure if anyone told you this or not yet, nezzer, use listview in the content browser, not thumbnail images. also, right click on external (in the folder system on the left side of the content browser), and "fully load" multiple times until its grayed out.

Secondly, make sure you are placing STATIC MESH ACTOR, not STATIC MESH OBSTACLE ACTOR, if you click and drag from the browser into the workspace, it places an obstacle mesh. Obstacle mesh are for objects you want to disapear through kimset programming at some point in the game, such as a door you blow up.
 
Upvote 0
I don't know if you know this already, but a really quick and convenient way to place static meshes is to hold the 's' key and then click somewhere in a viewport. It will automatically place the static mesh somewhere on whatever snap grid you happen to have enabled. It's useful for getting meshes onto a wall or some other surface rather than having to click and drag it all the time.
 
Upvote 0
For Shadowwill & Yoshiro...

...in the hopes that your sdkfz 222 will soon be driveable in game. The only running original 222 is located at the Military Vehicle Technology Foundation which is near San Francisco, CA. See http://mvtf.org for more information. I'm sure they would be happy to provide you with any information you could possibly need reference-wise.

SdKfz 222 driving - YouTube Here is their 222. Note the fact that all four wheels rotate when turning

SdKfz 222 Armoured Car - YouTube Shows the quality of the restoration and the first engine start (note the WWI Renault FT-17 on the left)

Our WWII German Sd.Kfz.222 replica LENI - joyride (WW2 Re-enactment) Sonderkraftfahrzeug - YouTube Shows the driving experience of this vehicle (a replica, BTW) combined with period music and re-enactment uniforms (it's enough to get any Red Orchestra fan enthusiastic about the potential of driving this bad-boy into battle).

Cheers,

Fafnir_6
 
Last edited:
Upvote 0
Hi, thanks for those video's.

An update on the model, I'm nearly ready to release a package to people who want to include it in their maps. At the moment there are 3 versions of the mesh, default pose, a variation to the default pose and one thats somewhat damaged. There are 4 skins, grey, green, winter, and a desert style one. The default skin being the green. I'm not sure how to apply another material to one mesh, and have it update all the levels of detail meshes (at least quickly without having to change them all manually). If someone wants to do anything with the package or original meshes or whatever you want, they can request files from me.

Spoiler!


To the Devs:

A tutorial or workflow guide would really be appreciated by many people. The new stages involved in asset creation and brining them into the engine are far more complex and time consuming than that of UE2.5/RO1. My workflow often gets very messy towards the stage of brining the assets into the game, because I find I have to go back and change things such as scale, UV's and what not. I think a guide would really speed things up and streamline the process. I'm aware there's a tonne of documentation for this relating to the UDK, but one tailored to RO2 itself would be great as I'm sure your artists have their own workflows.

Cheers
 
  • Like
Reactions: Nylle
Upvote 0
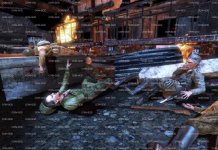
Working on a little Banner for my Map.
attachment.php

Started 30 minutes ago. Getting the basic poses.
(Based on a scene from a german movie, you may guess wich one)

Edit:

Base image is done. Now I have to make a banner out of it.
attachment.php

Sorry for the crappy watermark, but I'm a little paranoid.
 

Attachments

  • test.jpg
    test.jpg
    17 KB · Views: 0
  • image_1.jpg
    image_1.jpg
    100.7 KB · Views: 0
Last edited:
Upvote 0